Happy Thanksgiving!! We will be closed November 27th and 28th to celebrate the holiday. Orders will resume shipping December 1st and will be shipped out in the order in which they were received and should be within 1-4 business days. ****Enjoy Free Shipping on Orders Over $99 within the 48 Contiguous States!
Happy Thanksgiving!! We will be closed November 27th and 28th to celebrate the holiday. Orders will resume shipping December 1st and will be shipped out in the order in which they were received and should be within 1-4 business days. ****Enjoy Free Shipping on Orders Over $99 within the 48 Contiguous States!
S-HWR-2420X
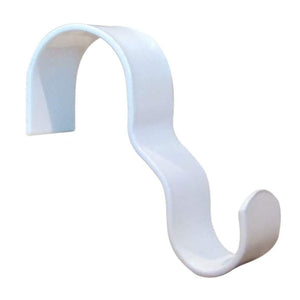
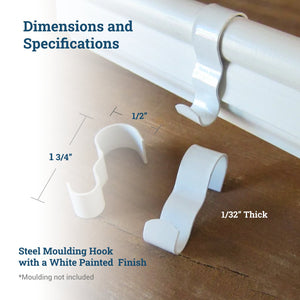
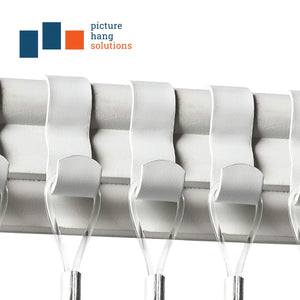
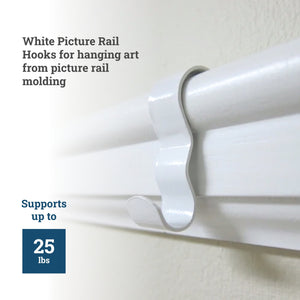
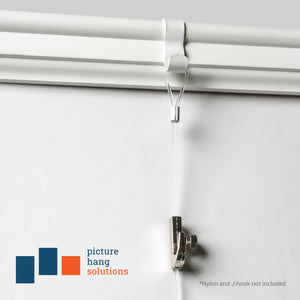
Picture railhooks are S-shaped hanging hardware designed to fit traditional wood picture rail molding (“Ogee" or "OG" molding) as part of a cable hanging system. Hanging pictures with picture rail hooks is damage-free with no drilling. Their elegance and great adjustability make them a staple in art galleries and museums, an appeal that also extends to enthusiasts who want to give their space the feeling of a real art gallery.
With a gallery kit:
Hang the rail hooks onto the picture rail molding.
Insert a loop cord onto the rail hook.
Attach picture hooks to the loop cables and adjust accordingly.
Hang the frames.
Without a gallery kit:
Attach picture wire to the bottom/smaller bend of the rail hook, each long enough to extend down from the picture rail molding to the top of the frame on the wall.
To attach wire to a picture rail hook, make 2-3 tight loops around the bottom bend about 4" down from one end of the wire. Wrap the wire around itself to form a tight, compact coil about 1” to 1 1/2" long just below the bend, then clip off any excess wire.
Hang the rail hooks by the top/larger bend onto the picture rail molding, spaced apart roughly the same distance as the width of the frame to be hung. Let the loose ends of the wires dangle down. If necessary, hooks can be bent slightly for a better fit. Use two picture rail hooks per frame.
Insert the wire through the picture hanger on the frame. Raise the frame on the wall to roughly the height desired. Note: Strap Hangers or D-Ring Hangers should be installed at the top corners of a frame, aligned vertically just below the top edge. Position the hangers down just far enough from the frame's top edge so they won’t be noticeable from the front when the frame is hung.
Temporarily loop the picture wire around itself at the picture hanger to hold one side of the frame in position.
Repeat steps 3 and 4 for the other hook.
Adjust the position or spacing of the hooks on the picture rail molding as necessary. The two wires should be parallel.
Adjust the wire height as necessary by unlooping the wires on the picture hangers.
Wrap the wire at each picture hanger securely, making tight, compact coils. Clip off any excess wire.
