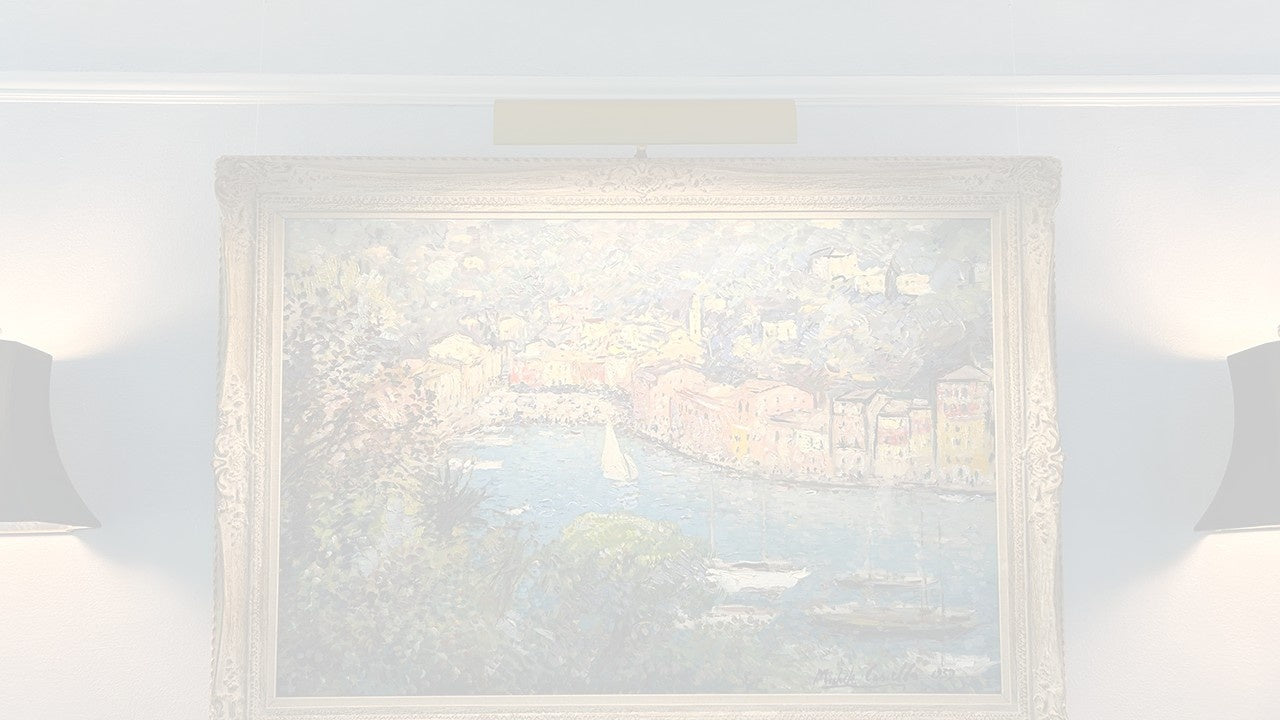
Bare walls are, to put it plainly, just boring, and they deserve some love and attention. No doubt you have the most amazing paint color to show off, but add some extra flair to contrast with that beautiful color!
At a minimum, showcase a picture or use a bookshelf to display books or photos or even a plant to make your living space warmer and more inviting. It’s your home, it should show your personality and what you like. If you are on the hunt for some ideas, you’ve come to the right place!
We gathered a bunch of DIY projects you might like, along with the proper picture hangers and wall hanging hardware you can use to mount them on the wall.
DIY Wall Art Ideas
A new set of pictures on the wall, while incredible, can only do so much for your space. They make good wall decor but you can also try different wall art types if you want to express yourself.
In this section, you’ll find materials needed, video references, and picture hanger recommendations. Check out these fun and easy DIY projects you can try!
Faux Plant Wall Art
It's always a good idea to inject green tones throughout your home. Plants can be excellent additions to your space. Not only do they make good home decor, but the real ones offer additional health benefits.
If you can't get real plants in your home, this DIY idea is the perfect alternative for you!
Here's what you'll need:
- Artificial grass
- Picture frames
- Scissors
- Green Paper (optional)
- Glue gun
- Picture hangers
Watch this video for more detailed instructions:
In the video, she used the sawtooth hangers that came with the frames she bought. You can use whatever frame hardware is already attached to it but if your frame doesn't have one, you can choose from our recommendations below.
- Sawtooth Hangers
- D-rings
- French Cleats
Float Frames
Care to spice up your regular frames?
All frames give beauty to a space, but float frames can elevate it even more. They’re designed in a way that the artwork looks like it’s floating within the frame, giving off a sense of three-dimensional depth.
To make your own float frame, here’s what you’ll need:
- A painting
- Wood
- Clamps
- Miter box and chop saw
- Wood glue
- Nails
- Hanging hardware
Check out the video to see the process!
As you might already know, there is a lot of hanging hardware to choose from. But for this project, these are the products we recommend:
- D-rings
- Picture wire
- French cleats for wood frames
Geometric Wood Art
Geometric wood art pops up every time you search for wall decor, and for good reason. Despite its simplicity, its intricate design catches your eye and makes a statement. It’s not that hard to make either.
Here’s what you’ll need:
- 5 x 8 inches Wooden Square Dowels
- 2 x 2 in, Birch Plywood with 1/4 in. thick
- Sandpaper
- Wood Stain
- Wood glue
- Brad nails
In this video, Corbin, from House to Home DIY, did four pieces of geometric wood art and hung them together as a group. You can do this too, but you may also get the basics and make your shape and design.
Check out this video to see how he did it!
To mount this DIY project, Corbin used sawtooth hangers that are ideal for his wood art's size and weight. Other hanging hardware options include:
- D-rings
- Picture Wire
- French cleats
Sawtooth hangers, as well as these three options, have a wide range of weight capacities available to support small, medium, and large or heavy frames. Just remember to keep in mind the weight of your art first before choosing a picture hanger!
Large Wall Art
There are a lot of beautiful large-scale art pieces out there. But sometimes, they’re hard to find or are very expensive. So, why not upcycle an old one or make your own instead?
Jorge Gomez from Casa Refined showed three wall art projects that you can recreate. You’ll be inspired by the different techniques and textures of each DIY.
They’re easy to make, affordable, and exquisite for your space. Watch this video and see for yourself!
In the video, he used the hardware that came with the frames he used, which were D-rings and picture wire. These picture hanging hardware are suitable hanging methods for the size of his frames.
On the other hand, we recommend the following hangers if you’re making a bigger version of these projects.
- Heavy-duty d-rings
- Strap hangers
- French cleats for larger and heavier frames.
Wall Organizer
Don’t you just love it when functionality meets design? Wall organizers live a double life as wall storage and as wall art. If you’ve been following us for a while, you’d probably remember this DIY project from one of our articles.
Katie from Addicted 2 DIY created an amazing wall organizer made of wood pieces. She mounted it in her workout area so it can hold a few of her things like towels and her water bottle.
Since it’s not a floor-to-ceiling wall storage, it can pass as a statement piece in the room if styled well. Here are the things you’ll need to create a wall organizer:
- Plywood
- Table saw
- Miter saw
- Wood glue
- Hammer
- Nails
- Level
- Clamp
- Push stick
- Wood stain (optional)
- Picture hangers
Once everything’s ready, check out the whole process in this video:
In the video, Katie mounted it with heavy duty D-rings. They’re one of the best hangers to use for this project, but here are other options:
- Heavy duty strap hangers
- French cleats
What Wall Hardware Can You Use?
After we covered what materials and picture hangers are needed, the next question is what hardware to use.
Bear Claw Screw Hangers
If you’re using sawtooth hangers or picture wire, use bear claw screw hangers. They are double-headed anchorless screws that have a sharp self-drilling tip. Bear claw hangers are best used on plaster, lath, or drywall.
Drywall Hooks (Brass, Nickel, and Tremor Hooks)
For D-rings and picture wire, we recommend using any of our drywall hooks: brass, nickel or tremor hooks. They come with the nails needed to fasten the hook to the wall, and designed with nail sockets as a guide when installing them.
Steel Utility Hook
Using steel utility hooks is another option for D-rings and picture wire. Steel utility hooks are zinc-plated hooks that can be used on any wall type and can support up to 30 lbs. These are great as they can be installed with screws rather than nails.
📝 Note: If you’re using French cleats, there’s no need for you to use wall hooks and screws anymore. But for sawtooth hangers, d-rings, and picture wire, these three are the most suitable types of hanging hardware for you.
Final Thoughts
It’s fun to shop for home decor, but sometimes it’s more exciting to make your own. You get to personalize it to your heart’s content and you’ll also be able to select the appropriate hanging hardware to use for your specific art project.
So, what’s your next DIY project going to be? Let us know in the comments!


Leave a comment (all fields required)